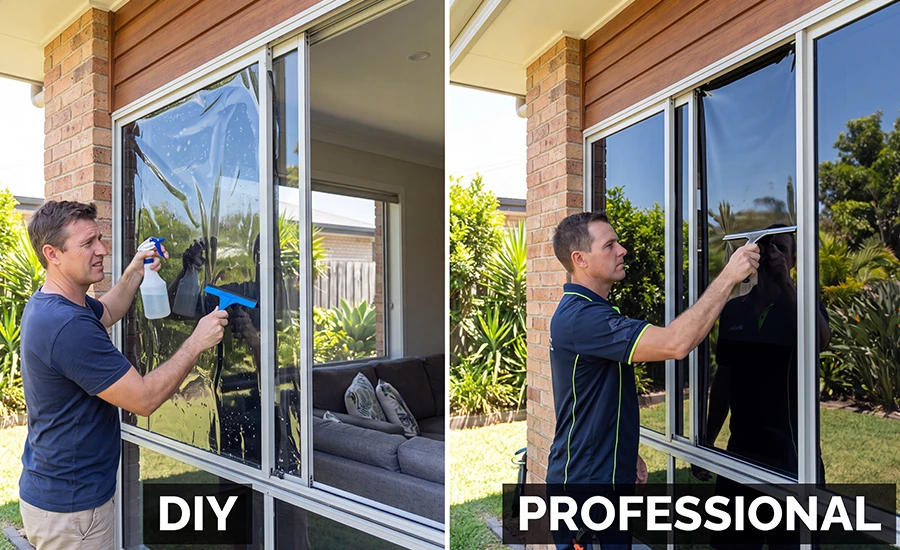
DIY home window tinting kits look tempting. When comparing DIY vs professional window tinting, a roll of window film, a spray bottle, and a YouTube tutorial can make the DIY option look like an easy way to save yourself a callout fee. We get why it’s appealing, and we’re not here to tell you it’s impossible. But there are a few reasons Brisbane’s climate makes this a harder DIY job than it looks online.
DIY vs Professional Window Tinting: What DIY Kits Involve
Most kits include a static or adhesive-backed window film, a squeegee, and a soapy water solution to help position the film before it sets. The theory is simple: spray, place, squeegee, trim. In practice, doing this on a small sample pane in a video is very different from doing it on a full-height living room window in Brisbane’s afternoon heat, where the film starts curling before you’ve finished squeegeeing.
Why DIY Window Tinting Is Different From Car Tinting
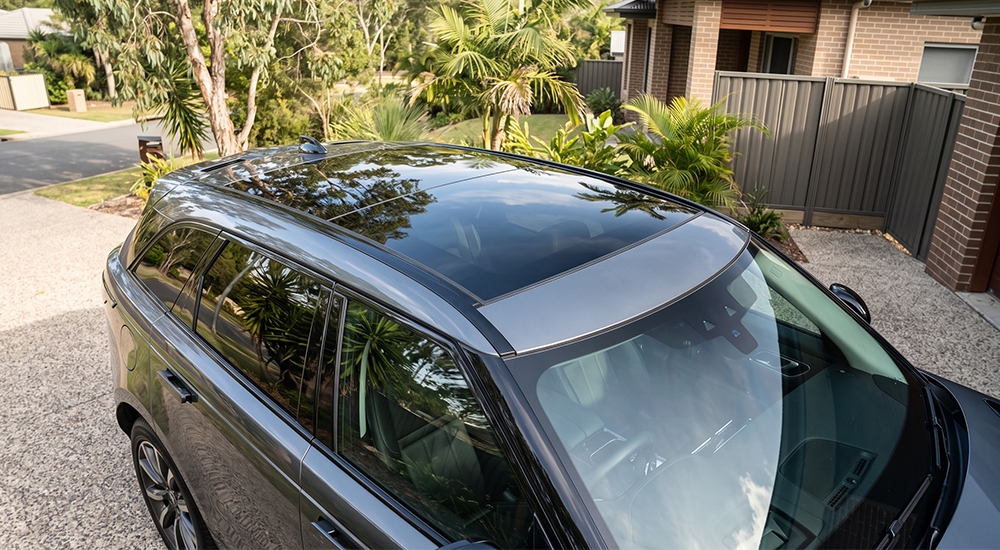
It’s worth noticing what people don’t attempt DIY on. Car glass is curved, so a home DIY kit wouldn’t sit flat against it even if you tried, which is exactly why car tinting has always been a job left to professionals. Home glass is flat, which makes DIY look achievable. The trouble is that flat doesn’t mean forgiving. A living room window is far larger than a car window, with more surface area for dust, air bubbles, and misalignment to show up on.
Where DIY Home Window Tinting Usually Goes Wrong
Dust, Bubbles and DIY Window Tinting Mistakes
Any dust trapped under the film during application becomes a permanent bump. A professional works in controlled conditions with tools that catch what a spray bottle and a credit card can’t, which is one of the main reasons professional heat reduction results look cleaner than a DIY attempt from day one.
Wrong Film for the Window
Not every window film suits every type of glass. Some double-glazed or toughened windows need a specific film to avoid heat stress cracking, and it’s not something a generic hardware store kit will tell you. Choosing the wrong film for your climate and glass type is one of the most common reasons DIY tint fails within a year rather than lasting a decade, and it’s also how you end up with a warranty (if the kit even comes with one) that won’t cover the outcome.
Why Low Window Tinting Cost for DIY is Not a Good Enough Reason
Sometimes (aka always) the quality of the job and how long it lasts trumps cost. Whether you’re after home or office window tinting in Brisbane, DIY jobs never measure up. The best window job is always done by a professional window tinting firm. You need someone who knows how to handles the materials, the big expanses of film, how to cut and apply them, but also how to prep the windows. Don’t underestimate how important this all is. Besides, it’s worth checking the warranties of the product you’re using. Many residential window tints have a lifetime warranty. And commercial window tinting can typically have a 12-year warranty. The benefits of window tinting go beyond the quality window tints you can apply! Ask us. We’ll give you our honest opinion and advice.
The Cost of Getting It Wrong
A DIY kit might cost less upfront, but a peeling, bubbled, or cracked job usually means paying to have it stripped and redone properly anyway, which puts you behind where you’d have been booking a professional the first time. This is the same reason cutting corners on ceramic coating prep or paint protection tends to cost more long term: the shortcut rarely stays cheap.
What Professional Installation Gets You
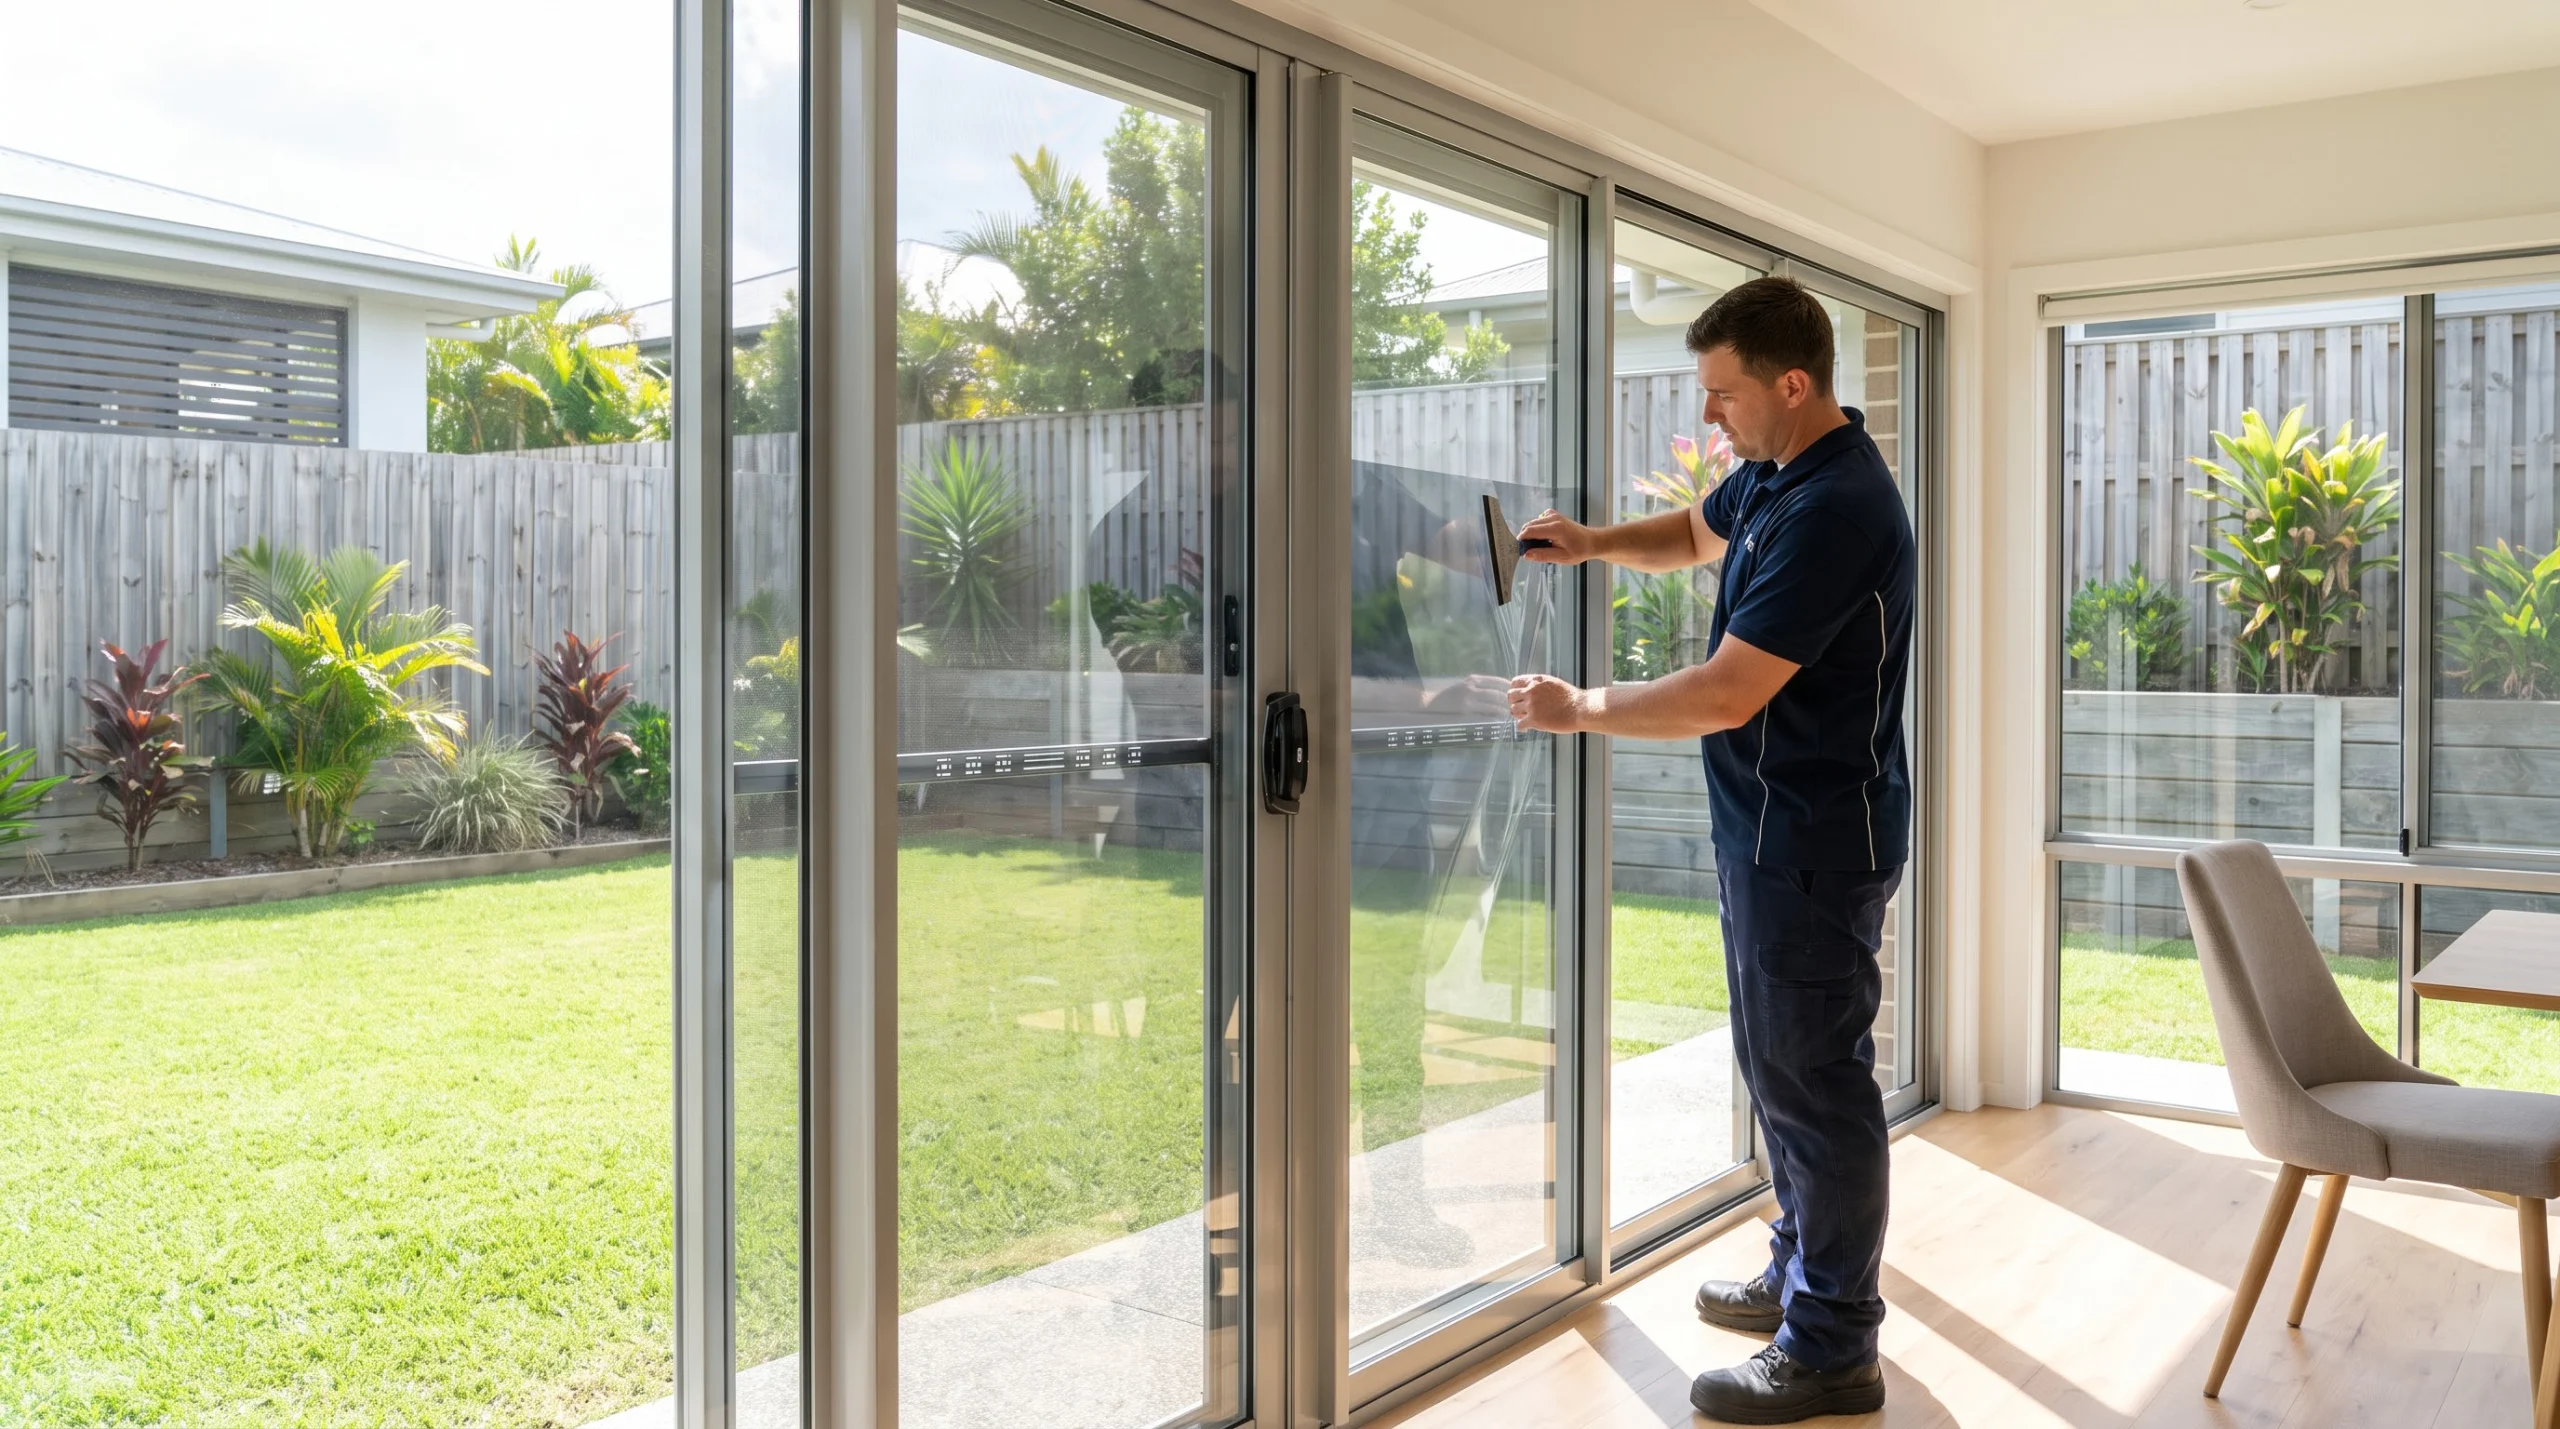
A trained technician brings dust-controlled application, precise trimming to the frame, and knowledge of which window film suits your specific glass and orientation. It’s the difference between glass that holds its glare reduction and UV protection for a decade, and a DIY job that needs attention again within twelve months, sometimes without any lifetime warranty behind it. If you’re still weighing up whether tinting is worth doing at all, it helps to look at the practical case for home window tinting before deciding between DIY and professional.
When DIY Might Make Sense
To be fair, a small, low-visibility window, like a laundry or a garage side pane, is a reasonable place to practise if you’re determined to try it yourself. Just don’t expect the same result on your living room’s west-facing glass in Brisbane, where heat, UV rays, and visibility all raise the stakes, and where fading furnishings are the first sign a DIY film isn’t performing.
A Real-World Example
We’ve lost count of the number of call-outs that start with “I tried to do it myself and it’s peeling already.” It’s rarely a lack of effort. Brisbane’s heat and humidity are genuinely tough conditions to work in, and most people are surprised how much harder it is than the tutorial made it look. The ones who call us tend to want the same thing in the end: peace of mind that the job’s done properly, not a second attempt.
Frequently Asked Questions
Is DIY window tinting cheaper in the long run?
Usually not, once you factor in a likely redo. A film that fails within a year or two ends up costing more than professional installation would have upfront.
Can I remove a failed DIY tint myself?
Yes, though old adhesive can be stubborn and may require a heat gun and some patience. If it’s left too long, it can leave residue that’s harder to clean off than fresh film.
What film types are hardest to install yourself?
Ceramic and ceramic-blend films are the most technical to apply evenly, since they’re stiffer and less forgiving of small positioning mistakes than basic dyed film.
Skip the Trial and Error
If you’d rather get it right the first time, call 1300 Get Tint (1300 438 846) for a free consultation. We’ll tell you honestly whether your windows are a reasonable DIY candidate or worth booking in properly, and yes, we’ll always lean toward recommending ourselves, but only because we’ve seen how the other version usually ends.